

Groundnut is unusual among field crops: the harvest itself decides a large part of your yield. Wheat that is standing is wheat you can still cut tomorrow. Groundnut pods left in the soil are simply gone — unweighed, unsold, and invisible in every record except your final tally.
This is what we have learned from farmers running our SAT-G601 digger through the Saurashtra belt.
Soil moisture decides more than any setting
If you take one thing from this guide, take this: judge the soil, not the calendar.
The soil should crumble when you squeeze a handful — not clod, not powder. That condition is what lets the blade pass beneath the root ball and lift the plant with its pods still attached.
Too dry and the soil sets hard around the pods. The plant comes up and the pods stay behind, snapped off underground. This is the single largest cause of pod loss, and it is silent — you will not see the pods you left.
Too wet and the whole lot lifts as heavy mud. Pods stay caked, will not dry cleanly in the windrow, and you invite mould in storage.
If the soil has baked hard, a light irrigation a day or two before digging can bring it back into range. Many growers in Junagadh and Amreli plan this deliberately rather than hoping for the right conditions.
The test that takes thirty seconds: dig a few plants by hand at different points in the field before you start. If pods come up attached and the soil falls away, dig today. If pods are staying behind, fix the moisture first — the machine cannot compensate for soil that is wrong.
Timing the crop itself
Maturity in groundnut is judged from the pods, not the tops. Lift a few plants from different parts of the field and look at the inside of the shells — a matured crop shows dark, well-marked inner shells and firm kernels that fill the pod.
Dig too early and you harvest immature pods that shrivel on drying, costing both weight and grade. Dig too late and the pegs holding pods to the plant weaken, so pods detach in the soil during lifting — the same loss as digging dry ground, arrived at from the other direction.
Fields vary. Sample from several places rather than deciding on one corner.
Reading the soil and the crop before you dig
| Condition | How you know | What it costs you | What to do |
|---|---|---|---|
| Soil too dry | Soil sets hard around the pods; hand-dug plants come up with pods left behind | The single largest cause of pod loss — and it is silent. You will not see the pods you left | A light irrigation a day or two before digging brings it back into range |
| Soil right | Crumbles when you squeeze a handful — not clod, not powder. Hand-dug pods come up attached and soil falls away | Blade passes beneath the root ball and lifts the plant with pods attached | Dig today |
| Soil too wet | The whole lot lifts as heavy mud | Pods stay caked, will not dry cleanly in the windrow, and you invite mould in storage | Wait for it to come back into range |
| Crop dug too early | Inner shells pale and poorly marked; kernels do not fill the pod | Immature pods shrivel on drying — costs both weight and grade | Wait. Judge maturity from the pods, not the tops |
| Crop dug too late | Pegs holding pods to the plant have weakened | Pods detach in the soil during lifting — the same loss as digging dry ground, reached from the other direction | Dig now |
The test takes thirty seconds: dig a few plants by hand at several points in the field before you start. Sample from several places rather than deciding on one corner.
Why the digging angle matters
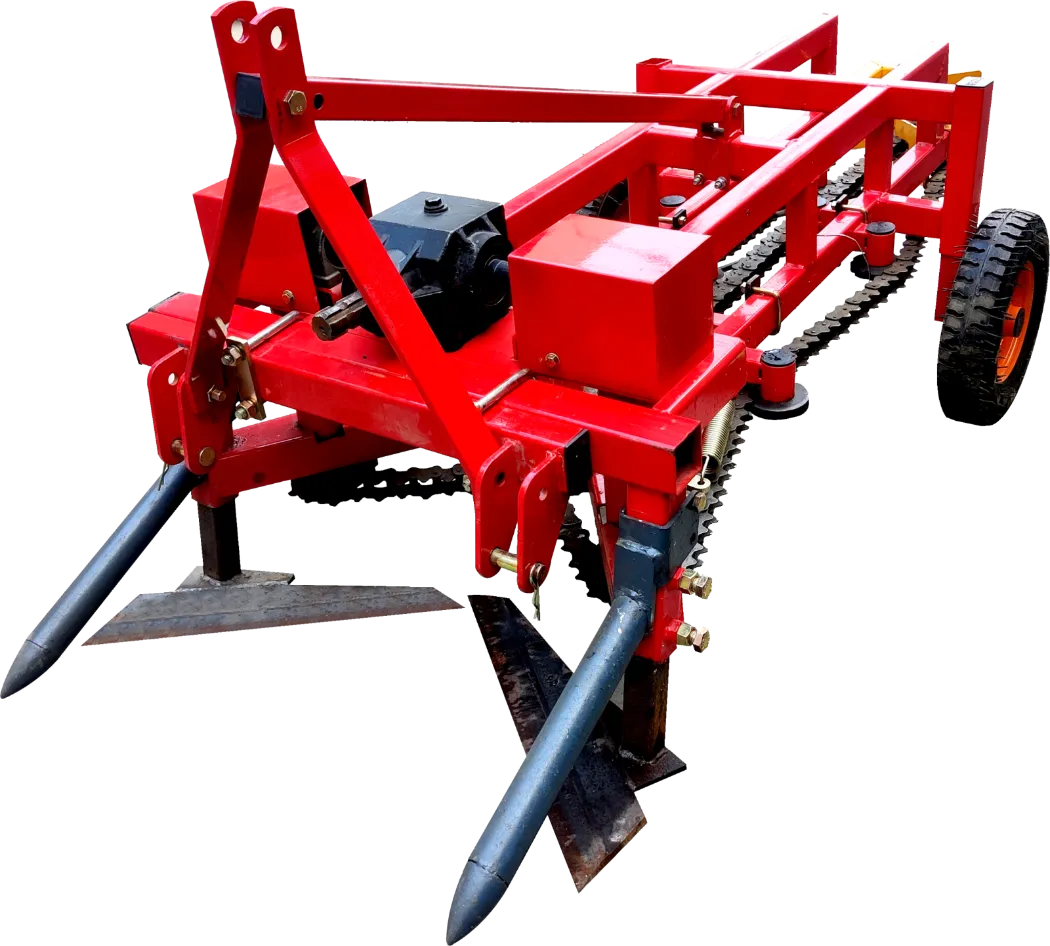
A digger blade has one job: pass under the pod zone and lift, rather than driving into it.
The SAT-G601 blade is set at roughly 15 degrees for exactly this reason. That geometry slides beneath the root ball and raises the whole plant — stem, roots and pods together. A blade running too flat pushes soil ahead of it and shears through the pod zone; too steep and it drives down below the pods without lifting cleanly.
Because the digger is tractor-mounted on a standard 3-point linkage and draft-driven rather than PTO-driven, there is very little on it to go wrong during a short harvest window. That simplicity is deliberate — this is not a crop where you want to be diagnosing a gearbox.
Set your depth, then hold it
Work depth should put the blade just below the deepest pods — deep enough to get under everything, no deeper. Running too deep wastes tractor power and lifts unnecessary soil; too shallow and you shear the pod zone.
Set it at the start on a short test run, check the results by hand, then keep it consistent down the field. Depth that drifts is depth that loses pods somewhere.
Keep forward speed steady and moderate. Too fast and the blade skips or the plants tumble rather than lifting cleanly; too slow and you simply waste the day.
Check your work in the first twenty metres
After your first short pass, stop and inspect. Walk the dug strip and look for pods lying loose in the soil or still buried in the row.
Loose pods mean either the soil is too dry or you are running too fast. Pods still buried mean the blade is running too shallow or the angle is wrong. Fixing it now costs five minutes; discovering it at the end of the field costs a portion of your crop.
Repeat this check whenever soil conditions change — different parts of a field genuinely behave differently.
Windrowing and drying
The digger lifts plants for windrowing. How you handle them next decides your grade and your storage life.
Leave plants in the windrow so air moves through them, and turn the windrow if the weather is heavy or humid. The aim is even drying rather than fast drying — pods dried too hard and fast in direct sun can crack, and cracked shells invite both mould and aflatoxin risk in storage.
Do not stack or bag until the crop is properly dry. More groundnut is lost in badly managed storage than most farmers credit, and by then the digging was the easy part.
A short field checklist
- Sample pods for maturity from several points, not one
- Squeeze-test the soil — it should crumble, not clod or powder
- Irrigate lightly a day or two ahead if ground has baked hard
- Set depth just below the deepest pods, then hold it
- Keep forward speed steady and moderate
- Inspect after the first twenty metres, and after any change in conditions
- Windrow for even airflow; turn if humid
- Store only when genuinely dry
Through the rest of the season
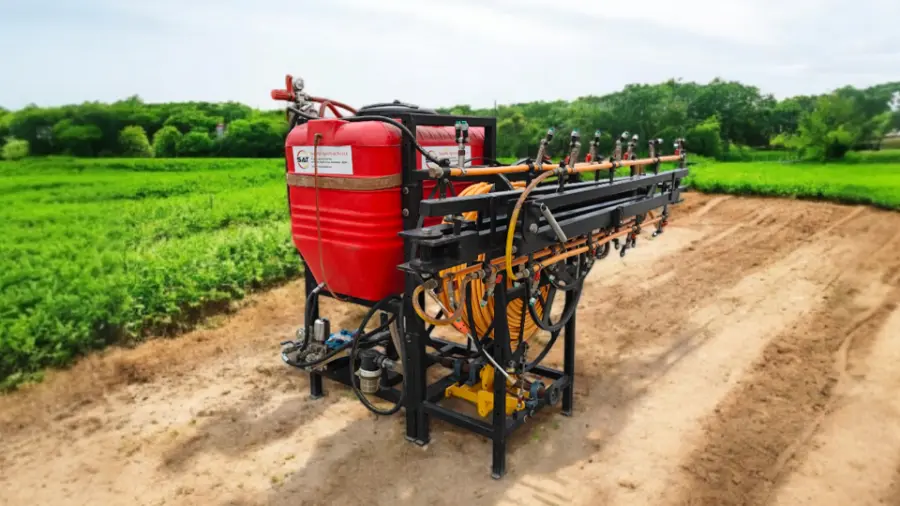
The same tractor that pulls the digger runs our SAT-B501 boom sprayer earlier in the groundnut calendar — and getting crop protection right feeds directly into what there is to lift at harvest. Our calibration guide covers that side.
We serve the groundnut belt directly — Junagadh, Rajkot, Jamnagar, Amreli and Bhavnagar — with dealers stocking fast-moving spares locally. Find your nearest on the network page, or tell us your soil and acreage and we will advise on fit before you buy.